Popular Articles


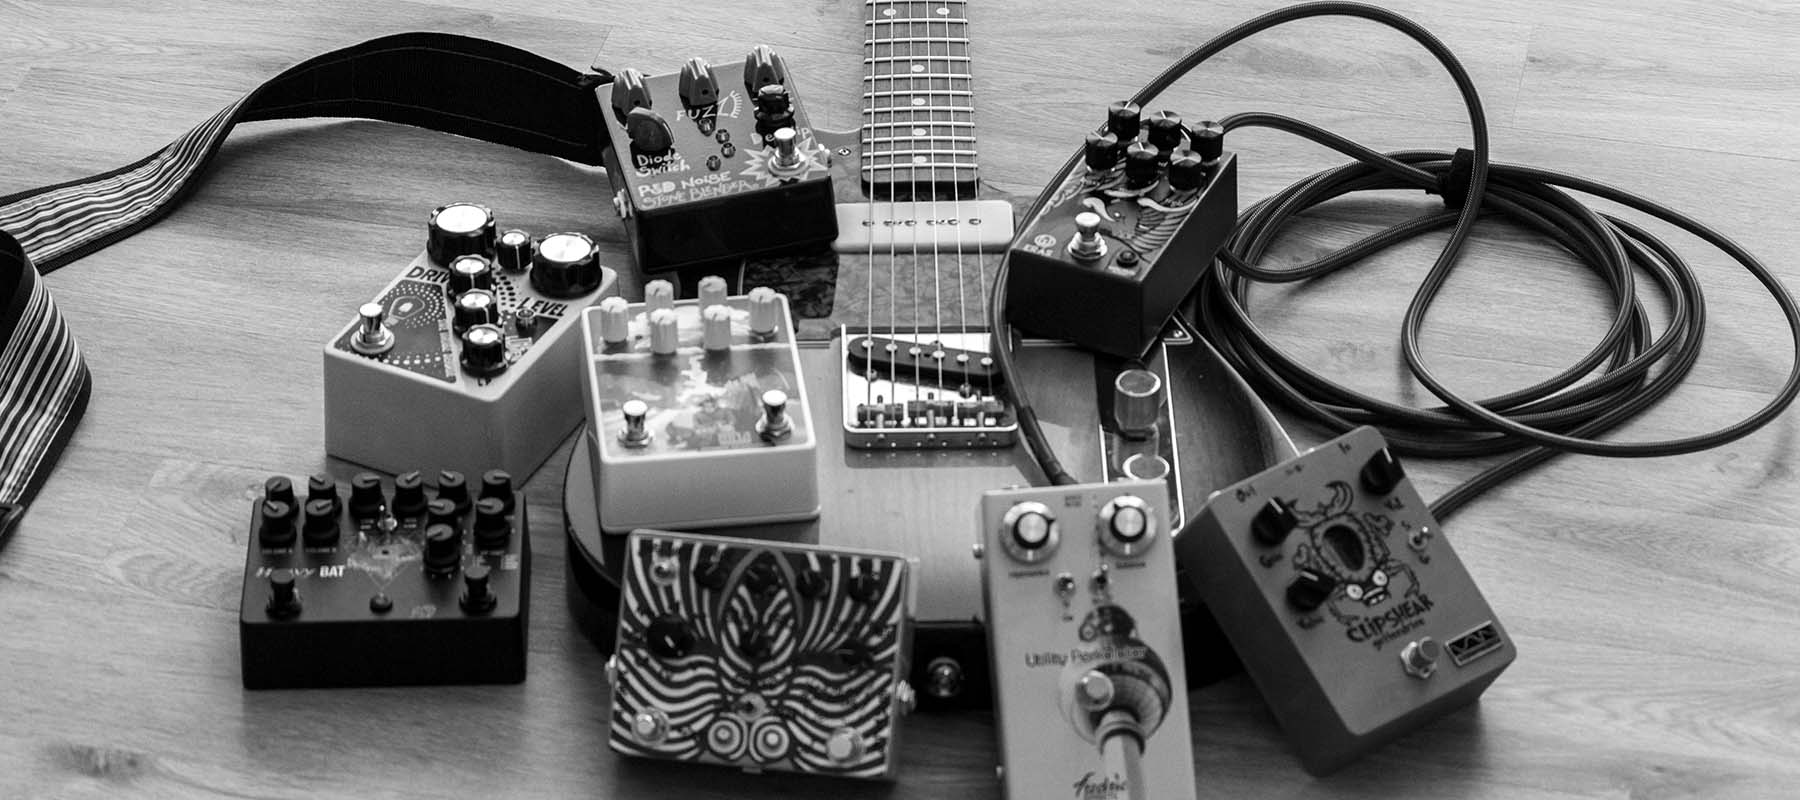
If you're building a pedalboard for use live on stage, there are many different factors to consider, ranging from how certain pedals might interact with each other, to pedalboard real estate, to how you actually need to access specific sounds and pedals during a song.
How you build your live pedalboard can change your entire experience onstage in the heat of battle - but consider a well built pedalboard as an extension of your instrument and part of your performance, and you'll be onto a winner!
Below, we outline the best ways to organise your signal chain for live performance.
There are some basic rules around signal chain design when it comes to organising a pedalboard for live gigs, but please remember: these are not hard and fast rules. They can - and should - be tested and broken in order to venture into new sonic territories.
But before you break the rules, you need to know them, so here's a best-practice guide for signal chain organisation:
The first thing you should do is when planning your live pedalboard layout is to consider what you actually need. Remember: ít's very tempting to take all our pedals to every gig, but consider if they are adding anything to the show.
Once you've settled on your pedal choices using the signal chain layout above as a guide, you'll need to work out how to best get them to fit onto your pedalboard. A good first step is to lay them all out and lay them out and divide your pedals into the following three main categories:
If you have pedals that you always leave on, you don't need to be considerate of their board positioning because you won't need to actually switch them on and off mid-show. The best place to situate these pedals is towards the rear of the board. You can place them in tight gaps behind other pedals because accessing them is not a concern.
These are pedals you need access to on a regular basis - for example, your main overdrive sound, your tuner, your lead boost and your essential modulation/delay pedals. If you need to switch something on multiple times per song or gig, they should be at the front of the board and unobscured so that you can easy and reliably switch them on and off when you need to without worrying about hitting something else by accident.
You'll almost certainly have some pedals on your board that you only need once or twice a night, but they are also essential for the show to get the right sounds for certain songs. Due to the infrequent use of these pedals, they should not be a high priority for easy access, but should still be easy enough to access when they are needed.
Put them into your less desirable positions. If you're only switching them on and off a small number of times, there should be an allowance for them to be a slight nuisance to access - you don't want to place pedals like this in a place that takes away the ease of use from something you regularly need access to.
When it comes to live use, you want your pedalboard to be reliable and robust. As such, you should always aim to use the best patch cables you can afford. They may not be as glamorous as a shiny new overdrive pedal, but investing in high quality patch cables will serve you well for many years to come.
For more complex pedalboard layouts, one option is to consider a high quality DIY/solderless patch cable kit. This will allow you to create custom length patch cables that you can use to run pedals however you need them.
You should aim to keep your cable runs as neat and tidy as possible. Not only does this make your board look better for those eyecatching Instagram snaps, but more importantly it makes it much easier to visualise the layout and troubleshoot issues when they do arise. If you have a jungle of cables, it'll be much harder to track where an issue is coming from and fix it. If it happens halfway through a gig, it could be an absolute nightmare, so plan for the worst and get organised.
Use cable ties and hooks on the underside of your pedalboard to keep cables tight and organised. This will also drastically lower the risk of cables getting caught on stage or in transit.

NE-ELECTRONIX Patch Cable
Handmade in northeast England from high quality Van Damme Pro Grade Classic XKE silver-core cable and right angle jacks, this 23.5cm patch cable has enough flex to cope with bends and features a noise rejecting construction, while the dual-conductor core provides a balanced frequency response. Good pedals need good cables, and these patch cables look great and sound superb!

Much like with patch cables, you should aim to purchase the best quality power supply that you can afford. Look for a power supply with plenty of output to handle all your pedals. If you have pedals with a range of voltage requirements, look into power supplies that offer 9V, 12V and 18V outputs.
Note that analogue pedals typically have much lower power draw than digital pedals, so you could get away with a power supply that just has 100mA outputs. If you're running digital effects then allow for a supply with 500mA outputs too.
If you're playing live, there's a high likelihood that you'll encounter noise issues. Some venues might have bad or dirty power, or you may be running an entire live show off a single socket with a bunch of extension leads plugged in. By using a high quality, isolated power supply, you can reduce the risk of any noise causing you issues,
Keep your power cable runs tight and neat to help with troubleshooting and to avoid cables getting snagged or pulled out.
Once you've started your pedalboard build, you can begin experimenting with pedal placement and signal chain order to craft your own sound; this is where your own personality comes into play! Just because there are best practices, it doesn't mean things won't work any other way.
Some of the best guitar sounds have been created by breaking the convention: switch up your pedal order, put your reverbs before your fuzz and put your wah at the end of the chain. Try something new and unique that sounds like you, and most importantly have fun creating your own sound!

OLD BLOOD NOISE ENDEAVORS Utility 3 Buffer & EQ
The Old Blood Noise Endeavors Utility 3 Buffer & EQ is a buffer and switchable 3-band EQ, offering a great value solution for your pedalboard. The always-on buffer is perfect for tackling long cable runs or a collection of true bypass pedals on a board. The switchable EQ enables you to tailor your sound to your pedal setup, guitar and amp. Keep it on all the time, or switch it on for certain parts or mid-set guitar changes.

KMA MACHINES Pylon
The Pylon noise gate is lightning fast and super-precise, great for tightening up your sound as well as eliminating extraneous noise. But it's more than just a straightforward noise gate - the Pylon is a complete toolbox for your pedalboard, featuring an integrated Boost/Cut section, an External Trigger Input for external bypass switching or gate-triggering, a relay-based Channel Switcher for controlling your amp, and a built-in audio-grade transformer to polish your sound. The Pylon has multiple inputs and outputs, giving you ultimate flexibility in the way it is used.

FREDRIC EFFECTS K/C Buffer
The Fredric Effects K/C Buffer packs 2 world-class buffers into a custom form-factor, small enough to fit in your pocket! The Klon buffer and the Pete Cornish buffer are both renowned for their effects on players' signal paths. The Klon buffer is based on an op-amp, whereas the Pete Cornish buffer is based on transistors. A buffer is required in some circumstances to avoid "tone suck" which can be caused by three different factors: long cable runs (not forgetting patch cables between effects), a signal chain made up of true bypass pedals, and some older pedals with low input impedance.
Lead image credit: Gari Wyn Williams / Alamy Stock Photo

The Boss DS-1 Distortion has been on the market for almost 50 years and has become a staple on pedalboards around the world. Find out what makes it tick - and why it is so popular.

Although various iterations of the Ibanez Tube Screamer exist, there is no mistaking that classic green overdrive pedal that we've seen on countless pedalboards, from pub gigs to arena shows.